Fist clenched hands
Table of Contents
Table of Contents
Have you ever wanted to learn how to draw a clenched fist but didn’t know where to start? Look no further! In this article, we’ll explore the ins and outs of how to draw a clenched fist, from pain points to personal experiences and everything in between.
Pain Points of how to draw a clenched fist
One common pain point when it comes to drawing a clenched fist is getting the proportions right. It can be difficult to know how to properly size the fingers and the knuckles in relation to the hand. Additionally, it can be tricky to get the angles of the fingers right so that they look like they are gripping or clenching. On top of that, drawing the hand in this position can be complex, especially for beginners. But don’t worry, we’ll break it down step by step.
How to draw a clenched fist
The first step in drawing a clenched fist is to start with a basic shape that resembles a rectangle or a trapezoid. This will form the foundation of the hand. Next, you’ll want to add a circle on top that will serve as the base of the thumb. Then, add the fingers by drawing elongated rectangles that start at the base of the palm and end at the first knuckle. Once you’ve sketched in the fingers, you can start drawing in the details. Pay attention to the placement of the knuckles and the way the fingers curl around the thumb. Finally, add in shading and texture to give the hand depth and dimension.
Summary of how to draw a clenched fist
To sum it up, drawing a clenched fist can be a challenge, but by breaking it down into steps and paying attention to the details, you can master it. Start with a basic shape, sketch in the fingers, add the details, and shade the hand to give it depth. With practice, you’ll be able to draw a clenched fist like a pro.
Personal Experience with how to draw a clenched fist
I first started drawing clenched fists when I was working on a comic book about a superhero who frequently got into fist fights. It was important for me to master the art of drawing clenched fists because they were a key component of the fight scenes. I found that by starting with a basic shape and building on it, I was able to create fists that looked like they were ready for a fight. It took practice, but eventually, I was able to draw clenched fists that looked realistic and dynamic.
Tips for how to draw a clenched fist
One tip for drawing a clenched fist is to pay attention to the proportions. Make sure that the fingers and knuckles are properly sized and spaced out. Another tip is to look at reference images to get an idea of how the hand is positioned when fist is clenched. Finally, don’t be afraid to practice, practice, practice. The more you draw clenched fists, the better you’ll get.
Detailed Explanation of how to draw a clenched fist
When drawing a clenched fist, it’s important to start with a basic shape that resembles a rectangle or a trapezoid. This shape will form the foundation of the hand, and it can be adjusted slightly to create the illusion of the fist clenching tightly. Next, you’ll want to add a circle on top of the rectangle that will serve as the base of the thumb. This circle should be tilted slightly to the side to give the thumb a realistic angle. Then, add the fingers by drawing elongated rectangles that start at the base of the palm and end at the first knuckle. The knuckles should be placed in a diagonal line across the top of the hand, with the index finger knuckle being the highest and the pinky finger knuckle being the lowest. Once you’ve sketched in the fingers, you can start drawing in the details. Pay attention to the placement of the knuckles and the way the fingers curl around the thumb. This will give the fist a realistic look. Finally, add in shading and texture to give the hand depth and dimension. Use cross-hatching and stippling to make the hand look more lifelike.
Personal Experience with how to draw a clenched fist (Part 2)
As I mentioned earlier, mastering the art of drawing clenched fists was important for the comic book I was working on. I found that by paying close attention to the reference images and breaking the hand down into basic shapes, I was able to create fists that looked believable. It was also helpful to practice drawing hands in different positions to get a feel for how they should look. One of my favorite techniques for shading the hand was using a blending stump to create a smooth, graduated look.
Troubleshooting how to draw a clenched fist
If you’re having trouble drawing a clenched fist, try breaking it down into basic shapes and practicing each component separately. Draw the rectangular palm, the circular thumb, and the elongated fingers. Once you feel comfortable with each piece, you can start to put them together to create the fist. Also, don’t be afraid to use reference images to get an idea of how the hand should look.
Question and Answer
Q: What are some common mistakes people make when drawing a clenched fist?
A: One common mistake is not paying attention to the proportions of the hand. Make sure that the fingers and the knuckles are sized correctly and spaced out evenly. Another mistake is not paying attention to the angles of the fingers. The fingers should be angled in towards the palm to create the illusion of a clenched fist.
Q: Can I draw a clenched fist without shading?
A: Yes, you can draw a clenched fist without shading, but adding shading can help to give the hand depth and dimension. If you’re a beginner, start with a simple line drawing and work your way up to adding shading.
Q: What if my fist doesn’t look realistic?
A: Keep practicing! Drawing a clenched fist takes time and patience. If it doesn’t look realistic at first, don’t get discouraged. Keep working at it and eventually, you’ll be able to draw a realistic clenched fist.
Q: How long does it take to learn how to draw a clenched fist?
A: It depends on your skill level and how much practice you put in. Some people may be able to master it in a few weeks, while others may take several months. The important thing is to keep practicing.
Conclusion of how to draw a clenched fist
Learning how to draw a clenched fist can be challenging, but with practice and patience, anyone can master it. Start with a basic shape, pay attention to the proportions and angles, and add shading to give the hand depth and dimension. Don’t be afraid to use reference images and keep practicing to improve your skills.
Gallery
Pin On Drawing With Augmented Reality

Photo Credit by: bing.com / fist clenched hands
Pin On Bloggggg

Photo Credit by: bing.com / fist drawing hand draw clenched drawings history month lessons palm balled hands left reference anime open step il sketch sketches
Clenched Fist Drawing At GetDrawings | Free Download

Photo Credit by: bing.com / fist clenched gesture getdrawings
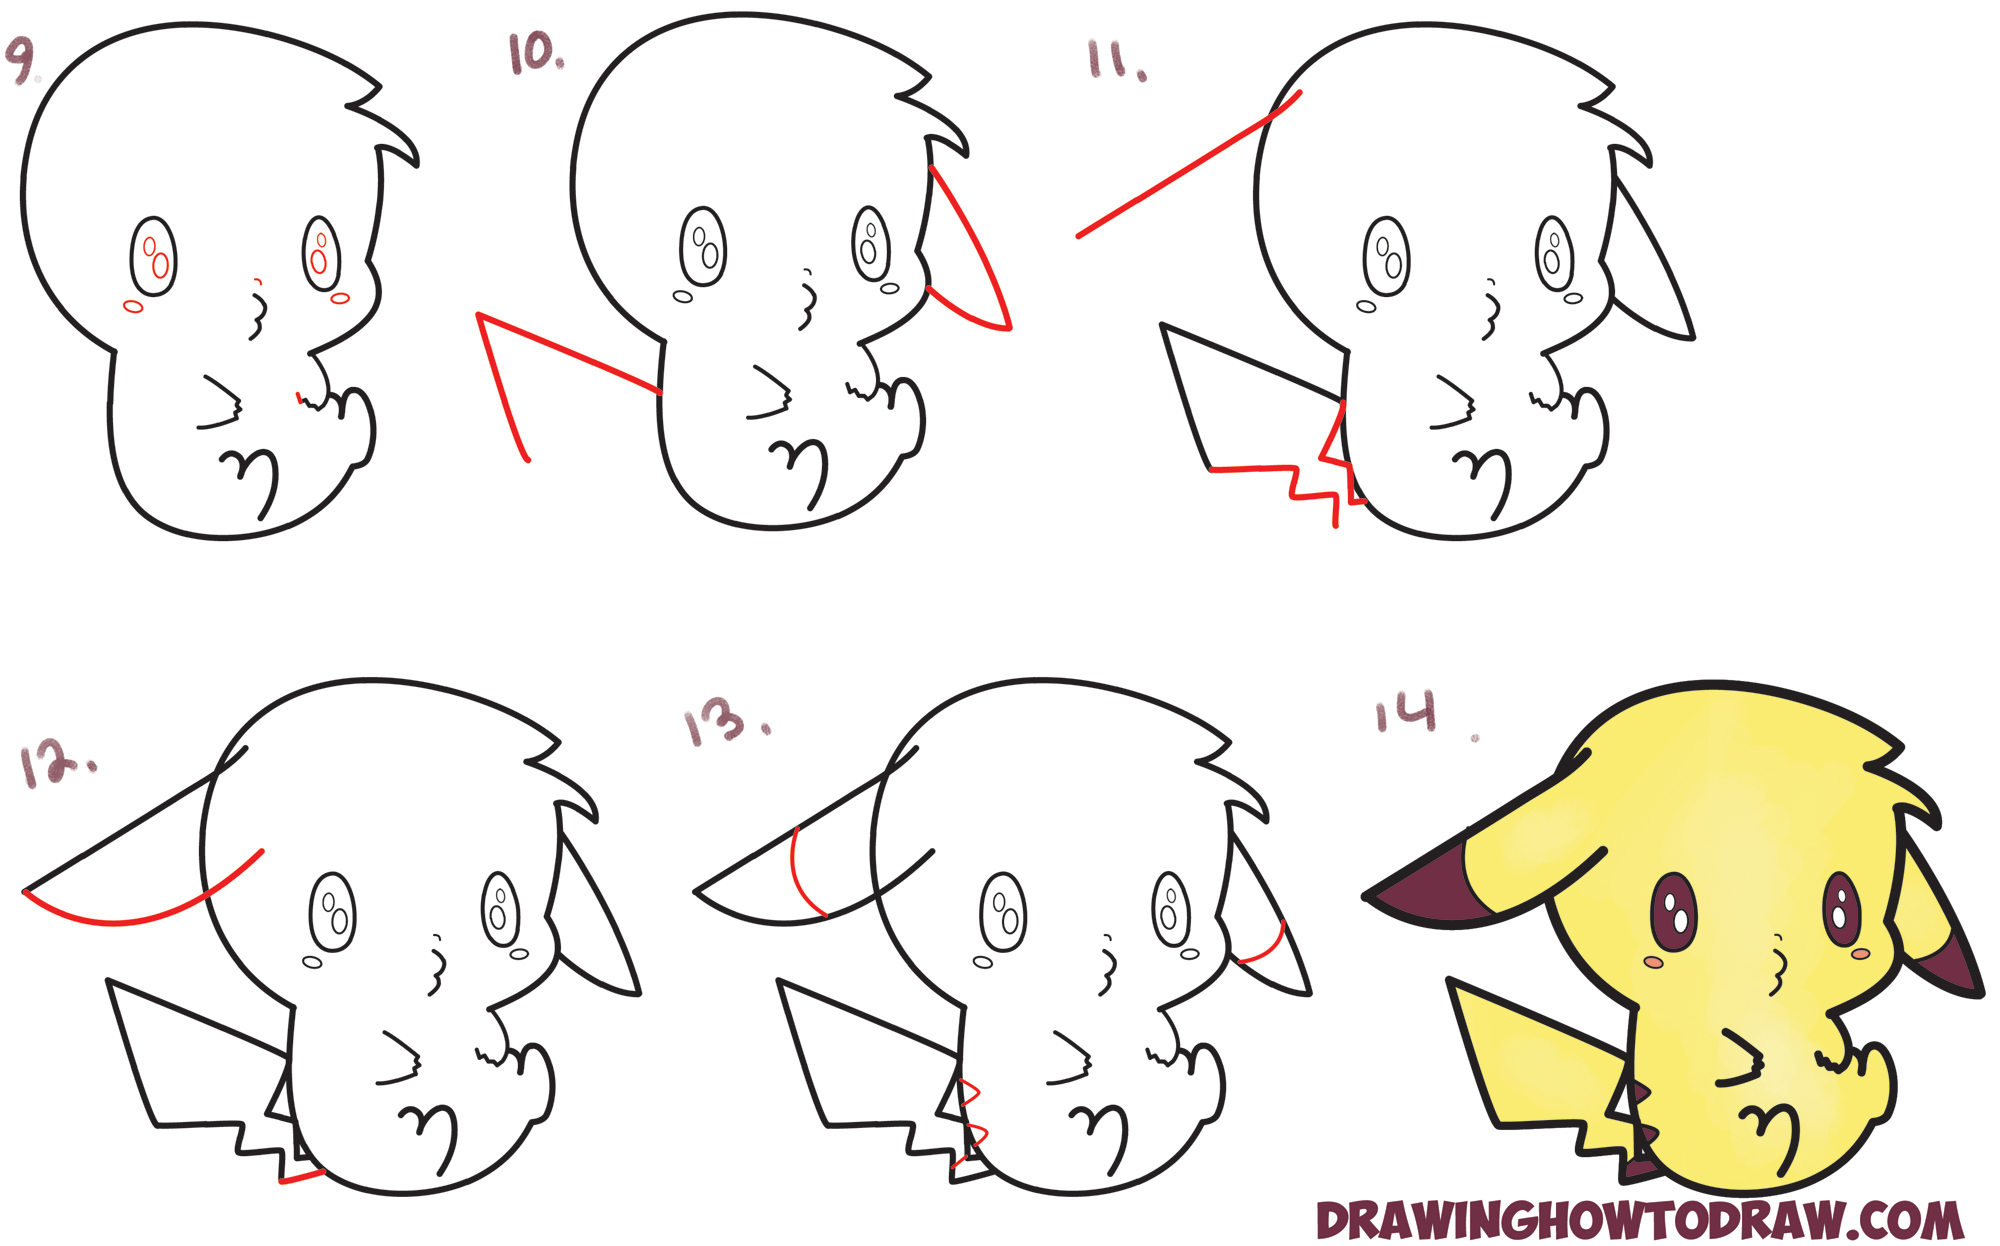
How To Draw Fists Side View Clenched : Drawing Cartoon Pounding Fists

Photo Credit by: bing.com / draw fists easy cartoon drawing clenched step side pounding tutorial drawinghowtodraw fist drawings instructions written
Download Line Art,drawing,coloring Book - White Clenched Fist Png

Photo Credit by: bing.com / fist clenched pinclipart netclipart